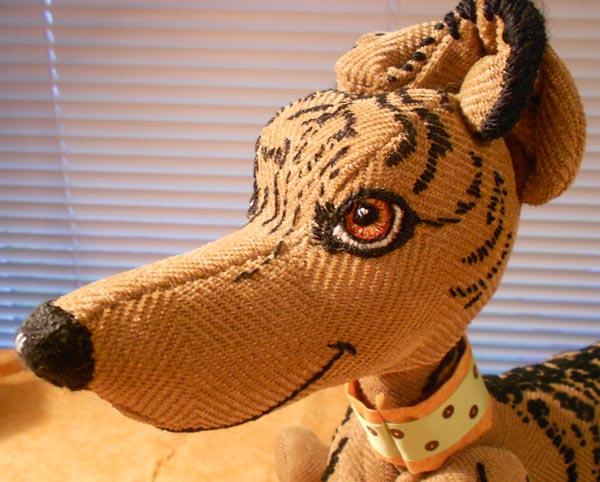
Jack © Xan Blackburn 2012 Greyhound soft sculpture Back in April, I participated in an auction, committing to create a soft sculpture portrait for the highest bidder. Marcy won on May 1st, and she chose Jack, her brindle greyhound, to be the subject of our portrait. Yes: May. So, it’s been a long-term project, you … Read More “Soft Sculpture: Jack!”
Petey in progress – Detailacrylic on canvas panel, 8 x 10© Xan Blackburn 2012 I swear, I haven’t been completely idle all this time! Hope for Hounds Since the last entry, I’ve been working on the 2012 Hope for Hounds collar and tee-shirt design, which is a yearly fundraiser, and collaborative effort between myself, 2 … Read More “Petey: time for a new color”
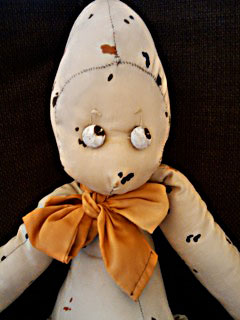
Detail of Minkeeyes are leather buttons, painted withacrylic I’ll be creating a soft sculpture portrait: a first for me! {edit: bidding is now closed. Thanks to all the participants!} If you’ve been reading my blog, it’s probably because of my pet portrait work. I’m really stepping outside my own box for this one, since I … Read More “Seven – no, EIGHT – Pet Artists in one fundraiser!”
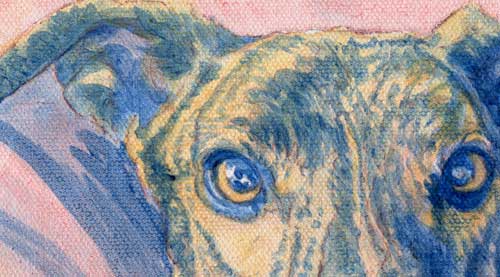
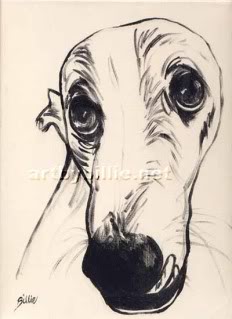
(Apologies for the lousy photos! I used my phone camera for most of these, but you can still get the basic ideas I’m trying to share!) An artist friend of mine, Billie, did this sweet little Etude of my darling Wabi,which I insisted we trade for. Those of you who know me have heard allllll … Read More “Some ART, finally!”