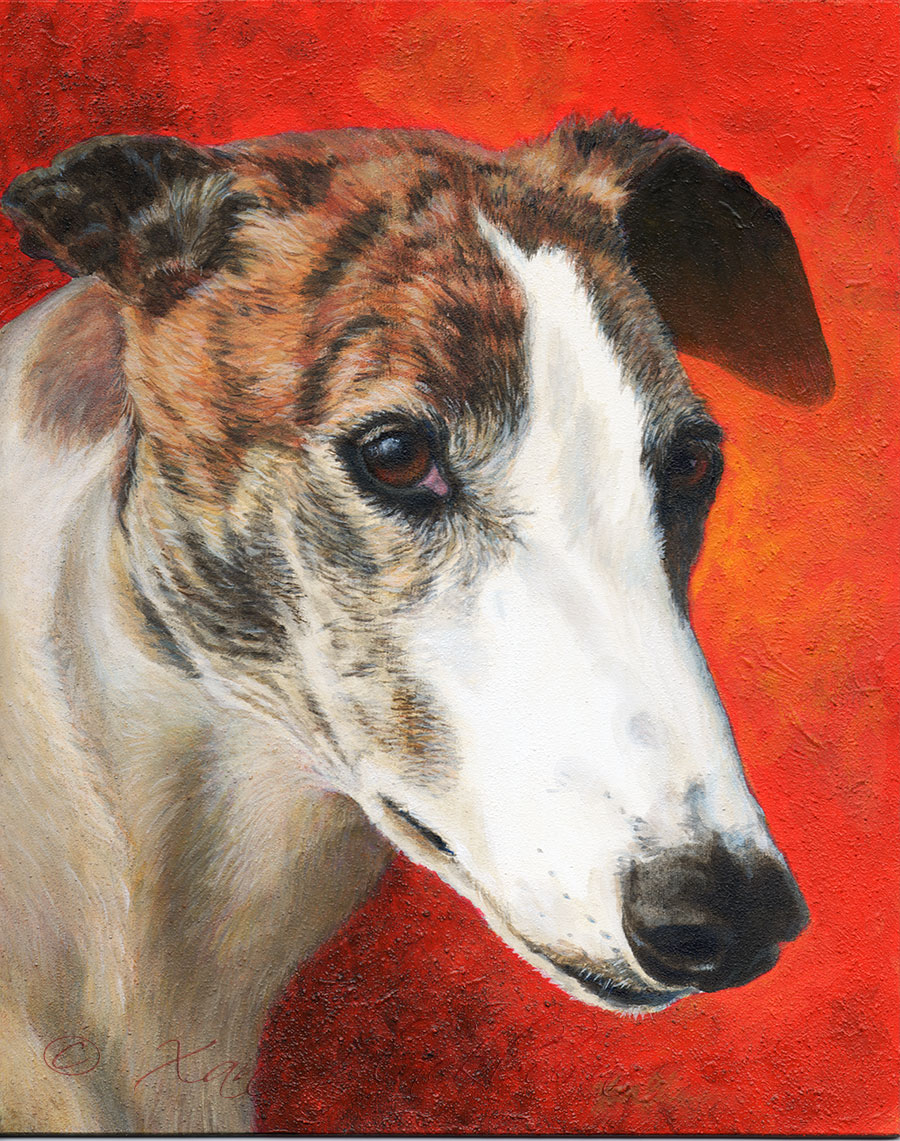
So, I toned down all the flashing lights in the background, and continued to build up layers of color throughout. Apparently, I did not take a lot of pictures during those early stages.
This stage looks nearly complete, but there were some issues I wasn’t pleased with. Her neck is okay, but it stands out from the background like a cut-out. So, I goofed around adding layers of color to make it all work better. You can see I had begun to add some of the background color on the underside of her far ear, to allow it to go back into the distance a bit.
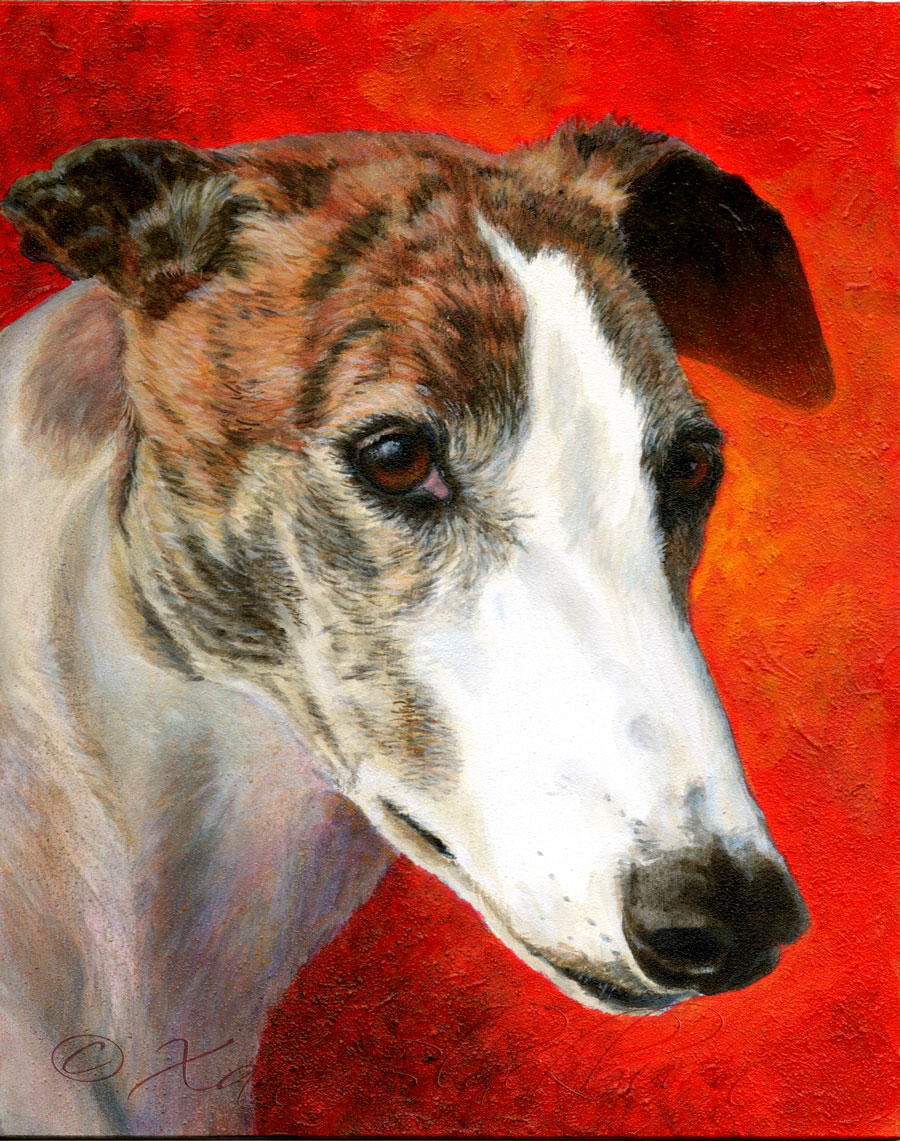
I kept working on the neck area, reworking the modeling a bit, and fixing an early issue with the line of her jaw. But jeesh! The neck is still way too colorful, and clashes with the background.

Whew! If you haven’t looked at the first half of this painting’s progress, you can take a minute now to go do that. We’ll wait.
Doo do doooo. Oh, hi. You all caught up? Great. Let’s move on.
Today, it was time to dive in with all the colors. So it went something like this.
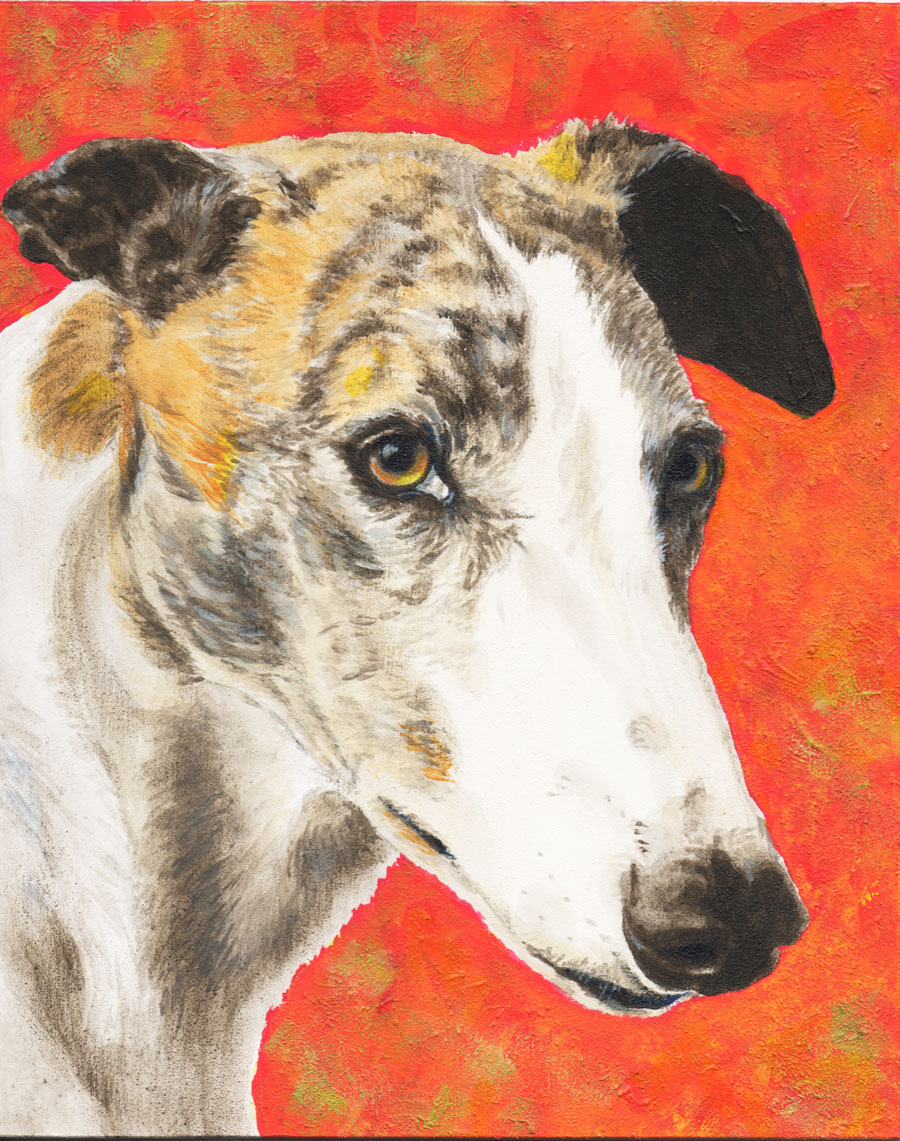
I started laying in some warm golden tones, in her mask and eyes, then started messing around with the background, adding golds and greens to see how that looked. I wasn’t too keen, actually.
I washed in first some ultramarine blue, then some of the red I had used in the background … but it got distressingly colorful. A little like the sheen on an oily puddle. It needed toning down, especially where purple had occurred. The opposite of purple is orange, but I didn’t want to go all the way to orange just yet. I washed in some burnt umber (dark brown), and that helped a lot. I also used it in the background, and you can see how it really pops her muzzle out towards us!
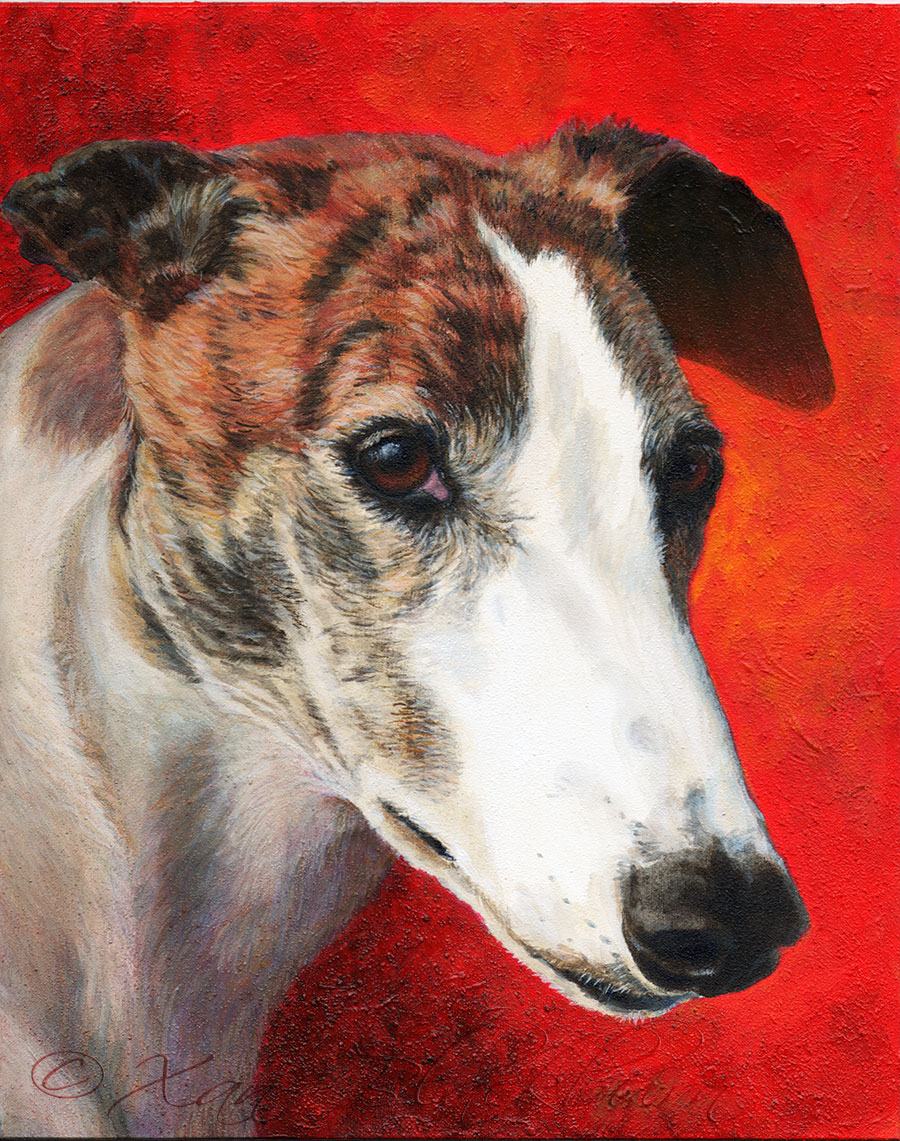
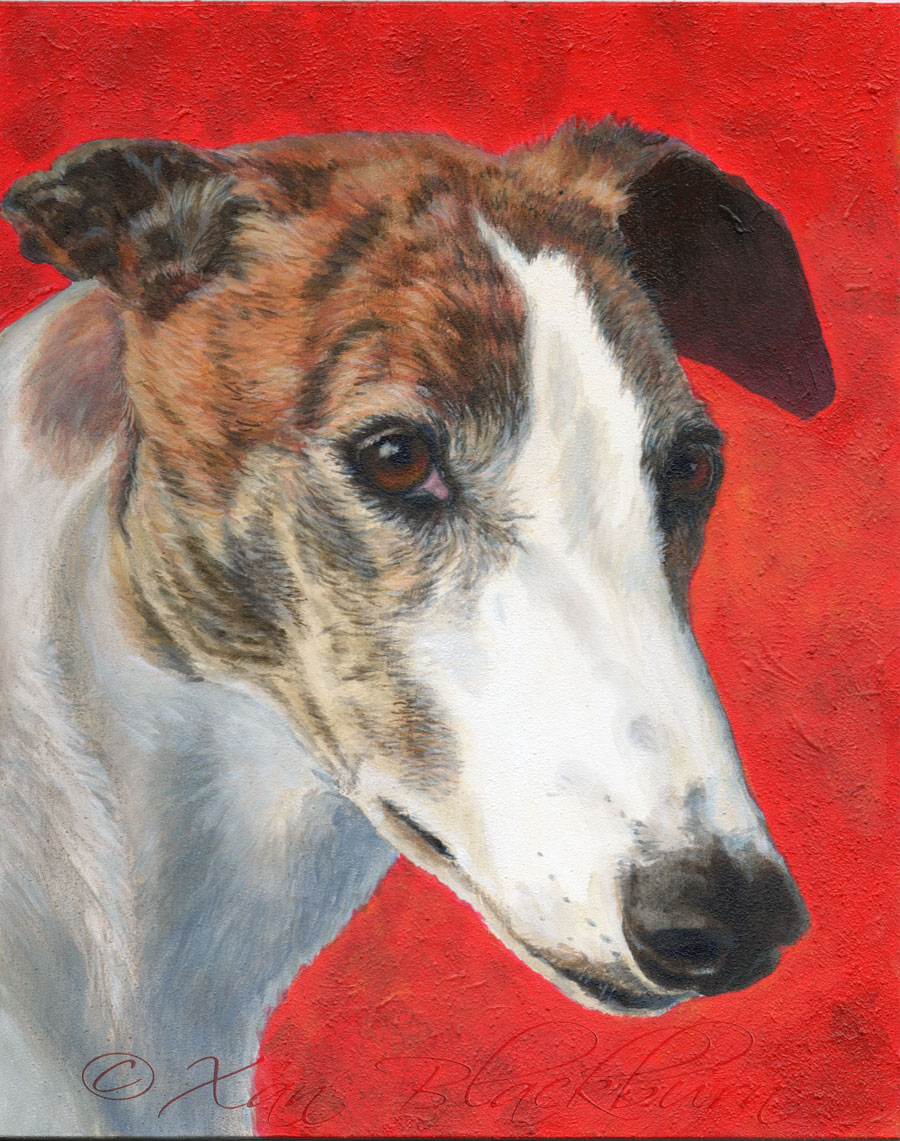
In the end, with the help of more burnt umber, some buff titanium, and various other bits and bobs, I tamed the neck zone sufficiently. I also worked on some other areas as I went along, bringing more golden orange into the background area by her eye, and into the far ear, then up above that ear. I also tightened up some details around her near-side eye, and this and that other stuff. This version on the left is the final version, which you can see at the top as well.
Hopefully, I’ll get a good night’s sleep (please, Katie!), and be able to start on a painting I’ve waited years for the opportunity to do. Sandy’s dear departed Wrangles, a greyhound of unusual looks, as you will see, will be a challenge and a labor of love. I can hardly wait!
3 Responses
Painstaking work, with careful recap/commentary–leading anyone with painterly inclinations on a tutorial that answers questions one didn’t know one had! It is exciting, always, to see the progress into the final stunning finish–and to know that you know it is finished! Rooting for Katie, too!
Thanks, Mom! Sometimes I think I should go REALLY detailed, with swatches of the colors used, pictures of the brushes I choose for different jobs, and maybe swatches of the marks they make, that kind of thing, but I don’t have a sense that I have that kind of audience. Maybe I would if I did do that. Maybe I need an intern to document my work as I’m doing it. 😉
I love the finished result!